How To Change The Screen Saver On Mac

How To Change The Screen Saver On Mac: A Comprehensive Guide
Introduction:
Do you want to customize the look of your Mac with a new screen saver? It’s easy to do with just a few clicks! In this article, we’ll explain how to change the screen saver on Mac and provide some helpful tips for choosing the perfect screen saver for your setup. We’ll also discuss the history and evolution of screen savers and explain why they can be important for protecting your computer.
What Are Screen Savers?
A Brief History of Screen Savers
Screen savers have been around since the first computers were developed in the 1960s. Originally, they were used to prevent image burn-in on CRT monitors, which was caused by the same image being left on the screen for an extended period of time. With time, however, they became more of a decorative tool used to customize the look of a computer desktop.
Today, screen savers are primarily used for aesthetic purposes, as modern LCD and LED monitors are less prone to image burn-in. However, some people still use them to protect their computer from unauthorized access. For example, if you leave your computer unattended for a long period of time, a screen saver can activate and lock the screen, preventing anyone from accessing your data without a password.
How To Change The Screen Saver On Mac
Changing the screen saver on Mac is easy and only takes a few steps. Here’s how to do it:
Step 1: Open System Preferences
The first step is to open the System Preferences menu. You can do this by clicking the Apple icon in the top left corner of your screen and selecting “System Preferences” from the drop-down menu.
Step 2: Select Desktop & Screensaver
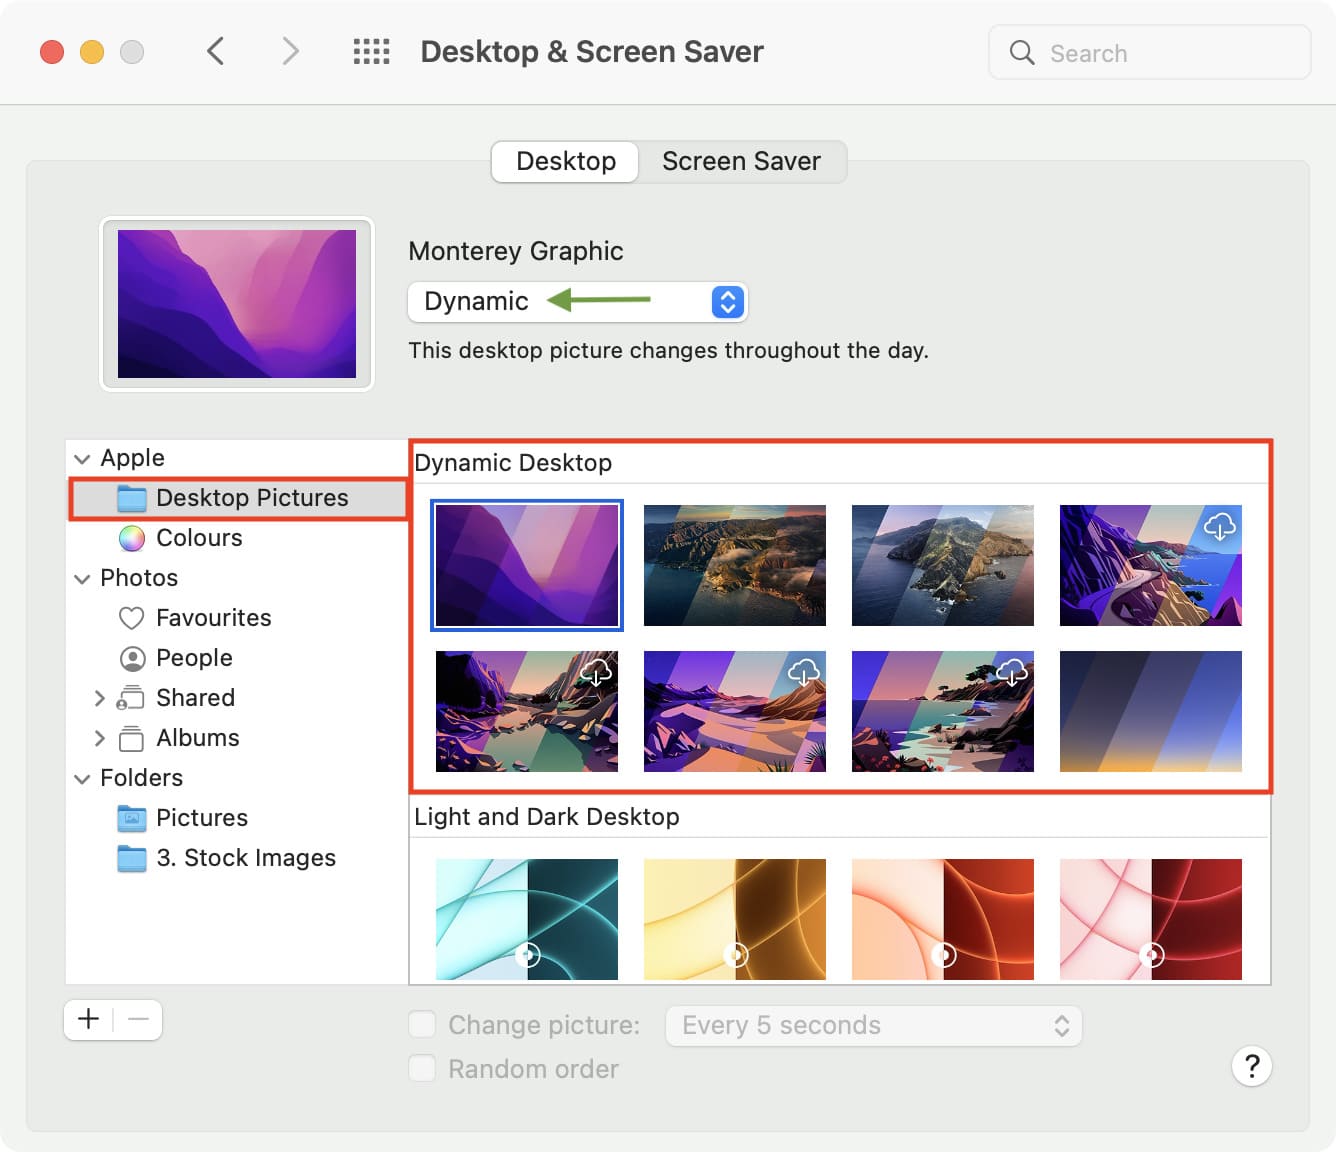
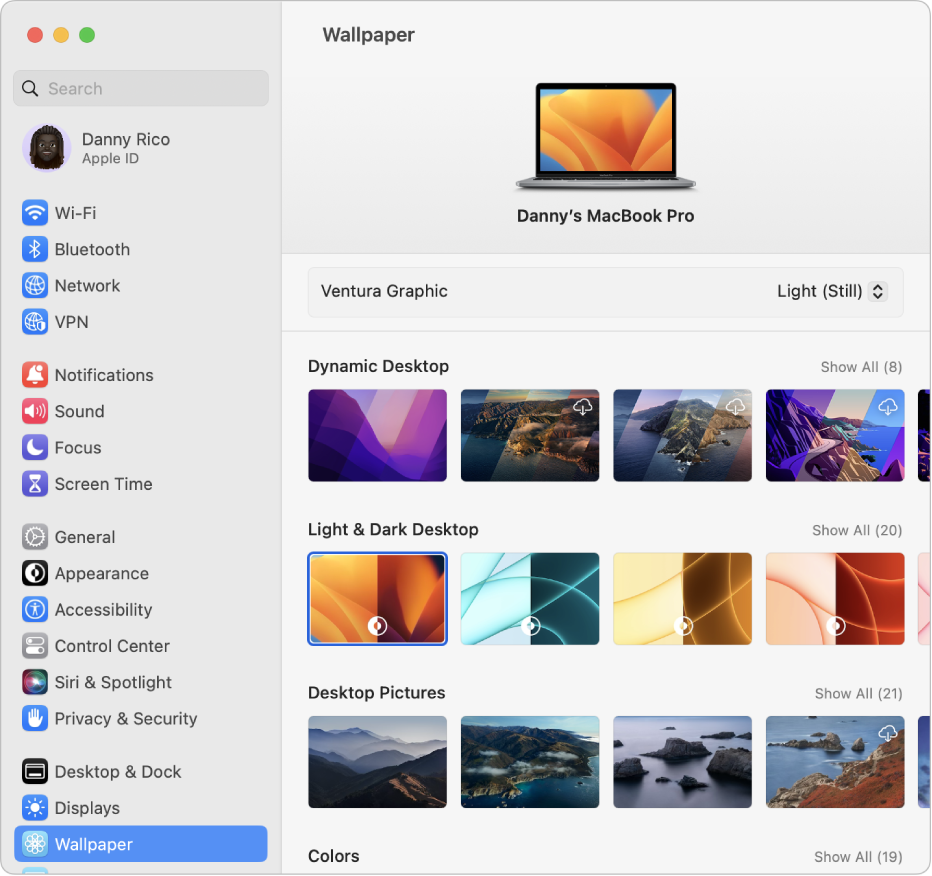
Once the System Preferences window is open, select the “Desktop & Screensaver” option. This will open the Desktop & Screensaver menu, which contains all of the settings for your screen saver.
Step 3: Choose a Screen Saver
In the Desktop & Screensaver menu, you can select the type of screen saver you’d like to use. You can choose from a variety of pre-installed options, or you can download a third-party screen saver from the App Store.
Step 4: Configure the Settings
Once you’ve chosen a screen saver, you can customize its settings. This includes adjusting the time interval at which the screen saver activates, as well as the type of transition used when it does so. You can also choose to have the screen saver activate when the computer is idle or when the display goes to sleep.
Step 5: Save the Settings
Once you’ve configured the settings, click the “Save” button to save your changes. Your new screen saver will now activate whenever the specified conditions are met.
Choosing The Right Screen Saver
When choosing a screen saver, it’s important to select one that fits your style and personal preferences. Consider the type of images or animations you’d like to see on your screen when it’s idle and browse through the available options until you find one that you like. You can also create a custom screen saver using your own photos or other images.
If you’re using the screen saver for security purposes, consider using a more complex one that requires a password to unlock the screen. This will help to protect your data from unauthorized access.
Conclusion
Screen savers can be a great way to customize the look of your Mac and protect your data from unauthorized access. Changing the screen saver on Mac is easy and only takes a few steps. All you have to do is open the System Preferences menu, select the “Desktop & Screensaver” option, choose a screen saver, configure the settings, and save your changes. When choosing a screen saver, consider your personal style and preferences. You can also create a custom screen saver using your own photos or other images.

Image :
support.apple.com
Additional Insight Video
If you're interested in the subject covered in this article, I advise checking out the video below. In this video, you'll gain further understandings and details on the subject, as well as visual aids of some of the central concepts and concepts covered in the article. You'll also have the chance to get insights from experts in the industry and connect with fellow viewers who are interested in the same topic. Whether you're hoping to deepen your knowledge of the matter or simply want to discover it further, this video is a helpful resource for anyone curious in gaining more insights. So, if you want to gain more in depth insights of the subject, make sure to check out the attached video. It's guaranteed to give you the insight and information you require to broaden your knowledge and expertise.
In conclusion, About this topic How To Change The Screen Saver On Mac we hope that you found the details presented valuable and informative. We understand that our surroundings is constantly changing, and remaining updated with the latest advancements could be challenging. That's why our mission is to offer you with the most relevant content out there. Your opinions is vital to us, so kindly do not hesitate to leave feedback in the section below. Thank you for your readership and suggest you to browse other pieces on our website to broaden your knowledge further. Thank you for being a member of our community!
Post a Comment for "How To Change The Screen Saver On Mac"